When you hear the word “yoga“, what’s the first thing that pops inside your head? Is it people who are gracefully twisting and bending their bodies into impossible positions? Yeah, me too. That is until I learned there’s yoga for poor flexibility.
After all, everyone starts at zero. It probably took years of practice for advanced yoga practitioners to achieve their immense flexibility.
Well, if you’ve got poor flexibility, we’ve got the perfect thing for you! Here are starter poses for all sizes and lifestyles.
Tips for Doing Yoga if You’re Not Flexible
But first, here’s how to do yoga if you’re not flexible.
Everybody Starts Somewhere
Whenever you look at your yoga teacher and see how she can easily do deep and intricate poses, remember that she started just like you. It took her years of practice and a lot of struggles to get to where she is. So stop comparing yourself to advanced yoga practitioners.
Go Slow
Don’t worry if you’re falling behind the rest of the class. Just focus on yourself and practice caution when moving into poses. Maintain your pace and always remember that you’re doing yoga for yourself and not for other people.
Use Props
Depending on your flexibility level, you can use props to help you. Straps, blocks, and bolsters are available to make it easier for you to go deep into the poses you want to try. Not only will it support you, but it will also stretch those muscles.
Remember to Breathe Deeply
More than being flexible, you have to breathe deeply. Notice your breathing as it is fundamental to practicing yoga. All of the movements and poses you’ll be doing is centered on your breath.
Starter Yoga Poses For All Sizes and Lifestyles
Mountain Pose (Tadasana)
Mountain pose is one of the most common yoga poses and the easiest to do. It might not look like a yoga pose but it’s a great way to lengthen your spine and strengthen your core and thighs. It improves posture as well as core stability.
How to do it: To do this, start by standing tall with arms at your sides. Keep your legs and feet together. Relax your shoulders and lift the heart. Keep your chin level with the ground. Then, breathe deeply and slowly press your hands together in front of you in a kind like a prayer pose.
Standing Side Lean
Standing side lean starts with the mountain pose. It’s pretty simple to do, creates flexibility in the spine, and stretches the shoulders.
How to do it: Start with the mountain pose. Then, reach both arms up. Let your palms touch. Inhale and bend to the right. Exhale and come back to center. Repeat the same motion but this time, bend to the left.
Chair Pose (Utkatasana)
Strengthen your core and thighs with the chair pose. It doesn’t require a lot of flexibility but it’s an awesome way to stretch your ankles and shoulders.
How to do it: Stand in a mountain pose and let your big toes touch. Exhale and bend your knees. Pretend you’re sitting in a chair. Inhale and reach your arms up by the ears. Lengthen your low back by tucking your tailbone. Inhale and rise to standing. Exhale and relax your arms down.
Downward-facing Dog (Adho Mukha Svanasana)
One of the most common yoga poses you’ll come across is the downward-facing dog. It’s named as such because it looks similar to the pose a dog makes when getting up. This helps stabilize shoulder joints and stretch hamstrings and calves.
How to do it: To begin, go on all fours. Then lift your hips while pressing the chest back to your knees. This creates the upside-down V pose. Support your wrists by spreading the fingers wide on the mat. Try to also press your heels toward the floor. You’ll feel a stretch through your calves and the back of your legs.
Plank Pose
The plank pose is a must-try if you want to strengthen your core, shoulders, wrists, and thighs. It’s like calisthenics since you’ll be using your own bodyweight to strengthen your body..
How to do it: Start on your hands and knees. Inhale and step your feet back while keeping your toes tucked. Exhale and engage your glutes, thighs, and abdomen. Try to keep your body in a straight line.
Bridge Pose (Setu Bandha Sarvangasana)
Doing the bridge pose is like doing a simple backend. But despite looking easy, this pose has so many benefits. It improves your posture, strengthens the glutes and things, and opens up the hamstrings and shoulders.
How to do it: Begin by lying on your back. Keep your knees bent and your feet hip-width apart. Inhale and press into your feet. Exhale and start lifting your hips and spine off the ground. Place your hands under your back and clasp them together and tucked under your shoulders.
Extended Child’s Pose (Balasana)
This is my favorite pose. It’s a good way to release your lower back’s tension. It also stretches the front part of your ankles, thighs, and shoulders.
How to do it: Go on all fours and inhale while you slide your big toes together. Exhale and sit on your heels. Rest your forehead on the mat. Open your knees so your chest and belly can breathe between your things. Keep your low back relaxed.
Tree Pose (Vrksasana)
Improve your balance while stretching your shoulders with the tree pose.
How to do it: Start by standing in a mountain pose. Let your big toes touch together. Inhale and place your hands on your hips. Exhale and slide your right foot to the inner thigh. Then, turn your right knee on the side. Inhale and reach your arms up. Let your palms touch. Exhale and relax your shoulders. This is for the right side. Just change your knee if you want to also do the left side.
Warrior 2 (Virabhadrasana II)
Strengthen your thighs and stretch the pelvic muscles and inner thighs with the Warrior 2 position.
How to do it: Begin by standing in a straddle position. Inhale and open your arms up in a “T”-like position. Exhale and turn your right toes towards your mat’s shorter edge. Bend your right knee. Gaze beyond your fingers and relax your shoulders.
Shavasana
Finally, Shavasana is your final resting pose for when practicing yoga. because of this, it’s often called the “corpse pose”.
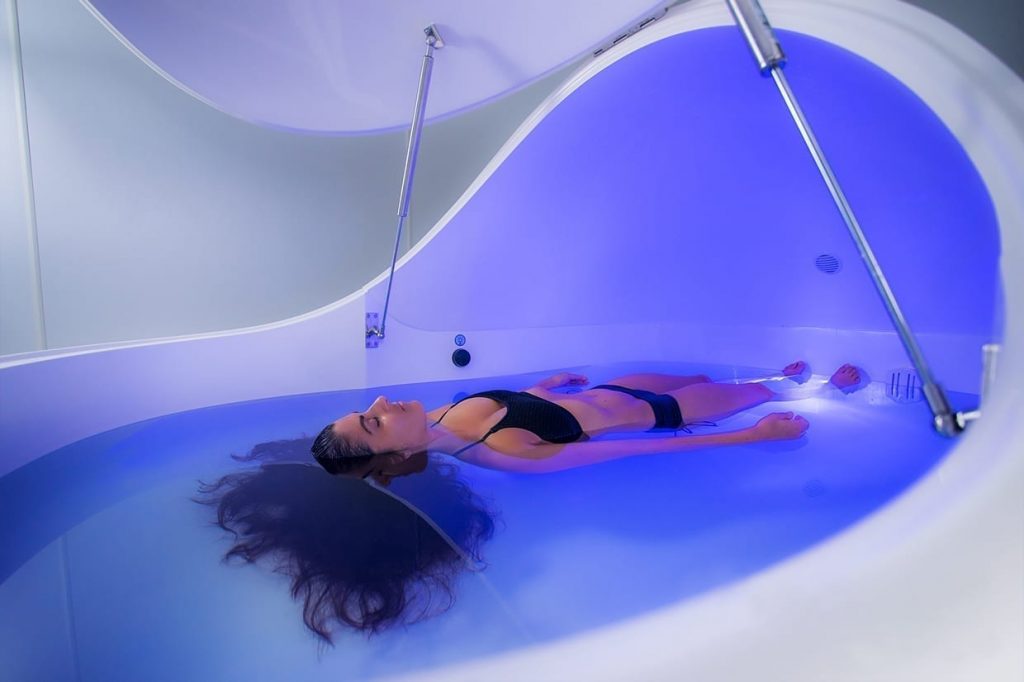
How to do it: Start in a seated position. Exhale and slowly roll onto your back. Relax and imagine you’re doing floatation therapy. You can stay here as long as you like.


